Your water heater is one of the most essential — and often overlooked — appliances in your home. It quietly works behind the scenes, providing hot water for showers, dishes, and laundry. But like any hardworking appliance, it needs a little TLC to stay efficient and reliable. Whether you have a traditional tank-style heater or a newer tankless model, proper care can add years to its life and help you avoid unexpected breakdowns.
Here’s how you can extend the life of your water heater and save money in the long run.
1. Flush the Tank Annually
Over time, sediment and mineral deposits (especially in areas with hard water) can build up inside the tank. This can reduce efficiency, clog the drain valve, and even cause the tank to overheat or rust.
How to flush your tank:
- Turn off the power (for electric heaters) or set the gas control to “pilot” (for gas heaters).
- Shut off the cold water supply.
- Connect a garden hose to the drain valve and direct it to a safe drainage area.
- Open the valve and let the tank drain completely.
- Turn the water supply back on briefly to stir up any remaining sediment, then drain again.
- Close the valve, refill the tank, and restore power or gas.
Tip: If you're uncomfortable doing this yourself, a plumber can flush it for you in less than an hour.
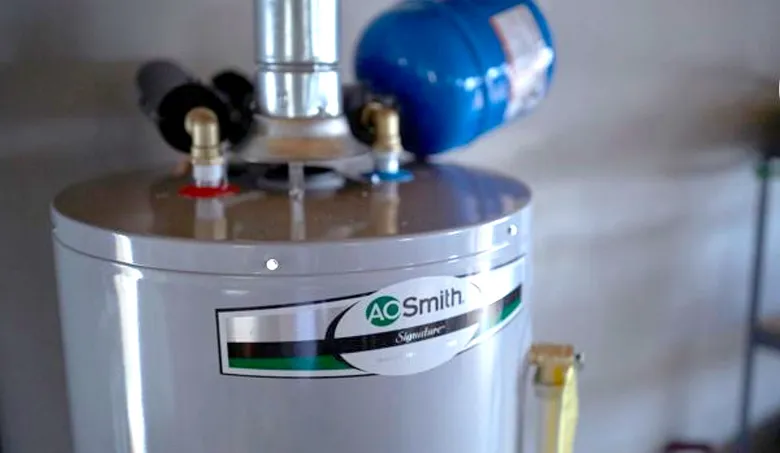
2. Check the Anode Rod Every 2–3 Years
The anode rod is a metal rod inside the tank designed to attract corrosive elements in the water, protecting the tank from rust. But over time, the rod itself corrodes and stops doing its job.
To inspect or replace it:
- Turn off the water and power supply.
- Locate the anode rod (usually screwed into the top of the tank).
- Unscrew it with a socket wrench and inspect for corrosion.
- If it’s less than ½ inch thick or coated with calcium, it’s time to replace it.
A $20–$30 anode rod can save you thousands on a full water heater replacement.
3. Test the Pressure Relief Valve
The pressure relief valve (also called the T&P valve) is a safety feature that opens if the pressure inside the tank gets too high. If it fails, your water heater could become dangerous.
To test it:
- Place a bucket under the discharge pipe.
- Lift the valve’s lever slightly and let it snap back.
- You should hear a gurgling sound or see water release. If nothing happens, it may be faulty and should be replaced.
4. Keep the Temperature at 120°F
Most manufacturers set water heaters at 140°F by default, but that’s often hotter than necessary. Lowering the thermostat to 120°F:
- Reduces wear and tear on the tank.
- Saves energy.
- Lowers the risk of scalding, especially for children and the elderly.
Use a thermometer at the tap to confirm the actual temperature, as thermostats can be slightly off.
5. Insulate the Heater and Pipes
Adding insulation can reduce heat loss and help your heater work more efficiently, especially in colder climates.
- Use a water heater blanket (available at hardware stores) for older units.
- Insulate exposed hot water pipes with foam sleeves to keep water warmer longer.
Note: If you have a newer model, check the manufacturer’s guidelines—some are already insulated and don’t need extra.
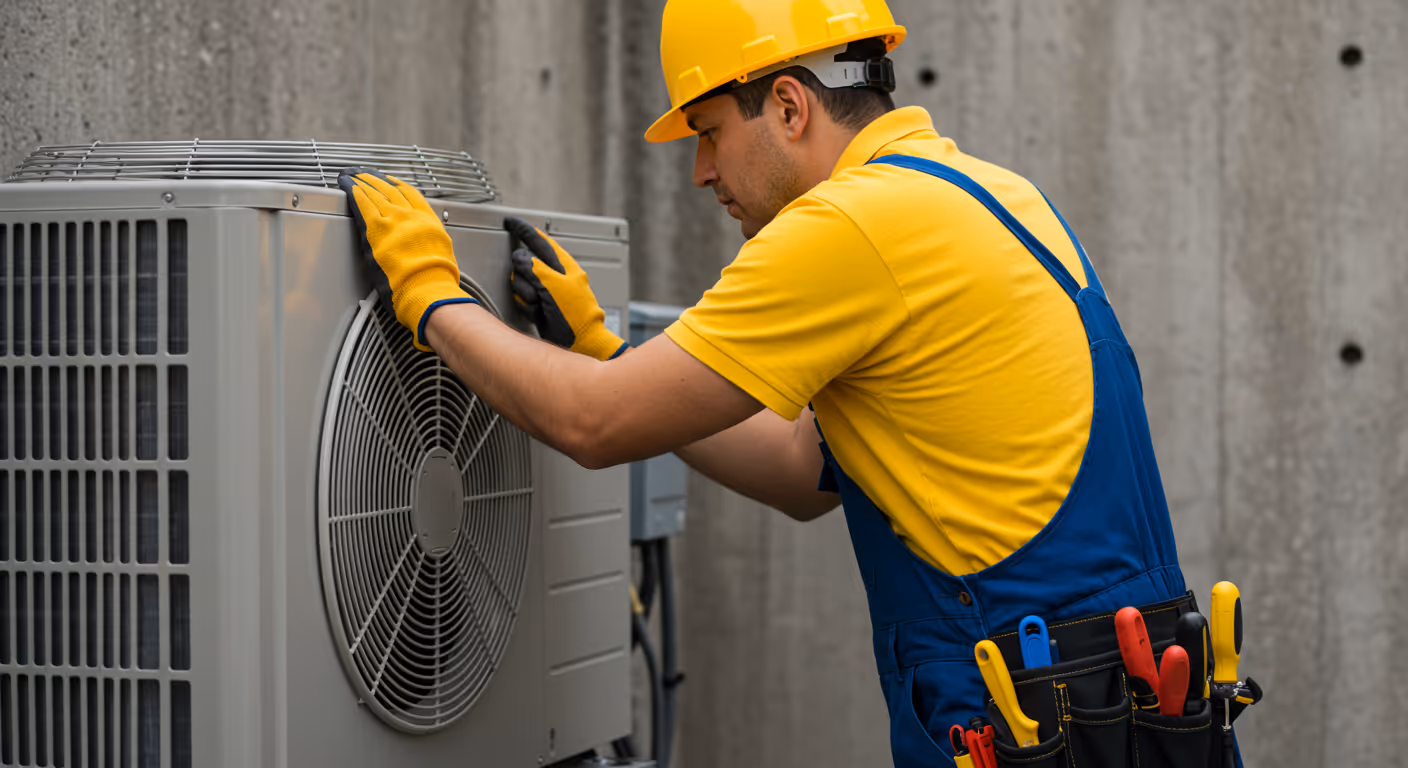
6. Schedule Professional Maintenance
Even if you’re handy, having a professional plumber inspect your water heater every few years is a smart move. They can:
- Check for leaks or rust.
- Test the burner or heating element.
- Ensure proper venting (for gas models).
- Give expert recommendations based on your specific system.
Final Thoughts
A typical water heater lasts 8–12 years, but with proper maintenance, you can often get 15 years or more. Taking the time to flush the tank, check the anode rod, and keep your system tuned up can pay off with fewer repairs, lower energy bills, and peace of mind.
Don’t wait until you’re taking an unexpected cold shower — show your water heater a little love today, and it’ll return the favor for years to come.